
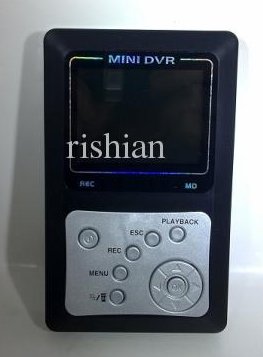
Digital Video Recorder (DVR) for saving the occultation video data. The size of this unit is 4.9 by 3 by 0.8 inches.
The camera we use for this project generates a standard NTSC video output signal. We will record this data with a digital video recorder (DVR). By using a DVR we eliminate the need for a computer for data recording and our video signal gets recorded to a memory card for later analysis. There are many ways to accomplish the video recording. For the earliest tests for the NSF proposal we used a DVD recorder. This works but is clumsy to use and run in the dark next to the telescope. Some amateur astronomers swear by video camcorders since they are cheap devices that can record with very high fidelity. Unfortunately, most (if not all) camcorders made today do not have a video input for recording something from a different camera. The device chosen for this project is a nice handheld unit that combines a video monitor with an all-digital video recorder. It is powered by an internal battery and writes to a SD memory card.
Here are some critical settings that need to be set on the recorder. The ones that are not necessarily obvious are tabulate below. You get to these sections by hitting the menu button.
System Settings
| Time Date | Set the Clock to the current Universal Time (UT) |
| Power Save | Power Off = Never |
| Power Save | LCD Off = Never |
| Video Output | NTSC |
Recorder Settings
| Channel Setting | Channel Auto Switch |
| Video Segment Sizes | 30 min |
| Frame Rate | 30 FPS |
| Resolution | 640×480 |
| Compression Rate | Low |
| Time Stamp | Off |
Other tips
- When unit is powered on (including plugging it in) it will begin to record data immediately.
- At the normal screen, the up button will change the video input channel.
- Always make sure unit is fully charged at the start of each observing session.
- Sometimes the unit will lockup and become unresponsive. To clear this try plugging it in. If that doesn’t work try pressing and holding the power button to force it to turn off. If all of those fail there is a reset button that you can access on the back. The reset button is inside the case and accessible via a small hole. Be very careful but you can press the button inside for a reset.