

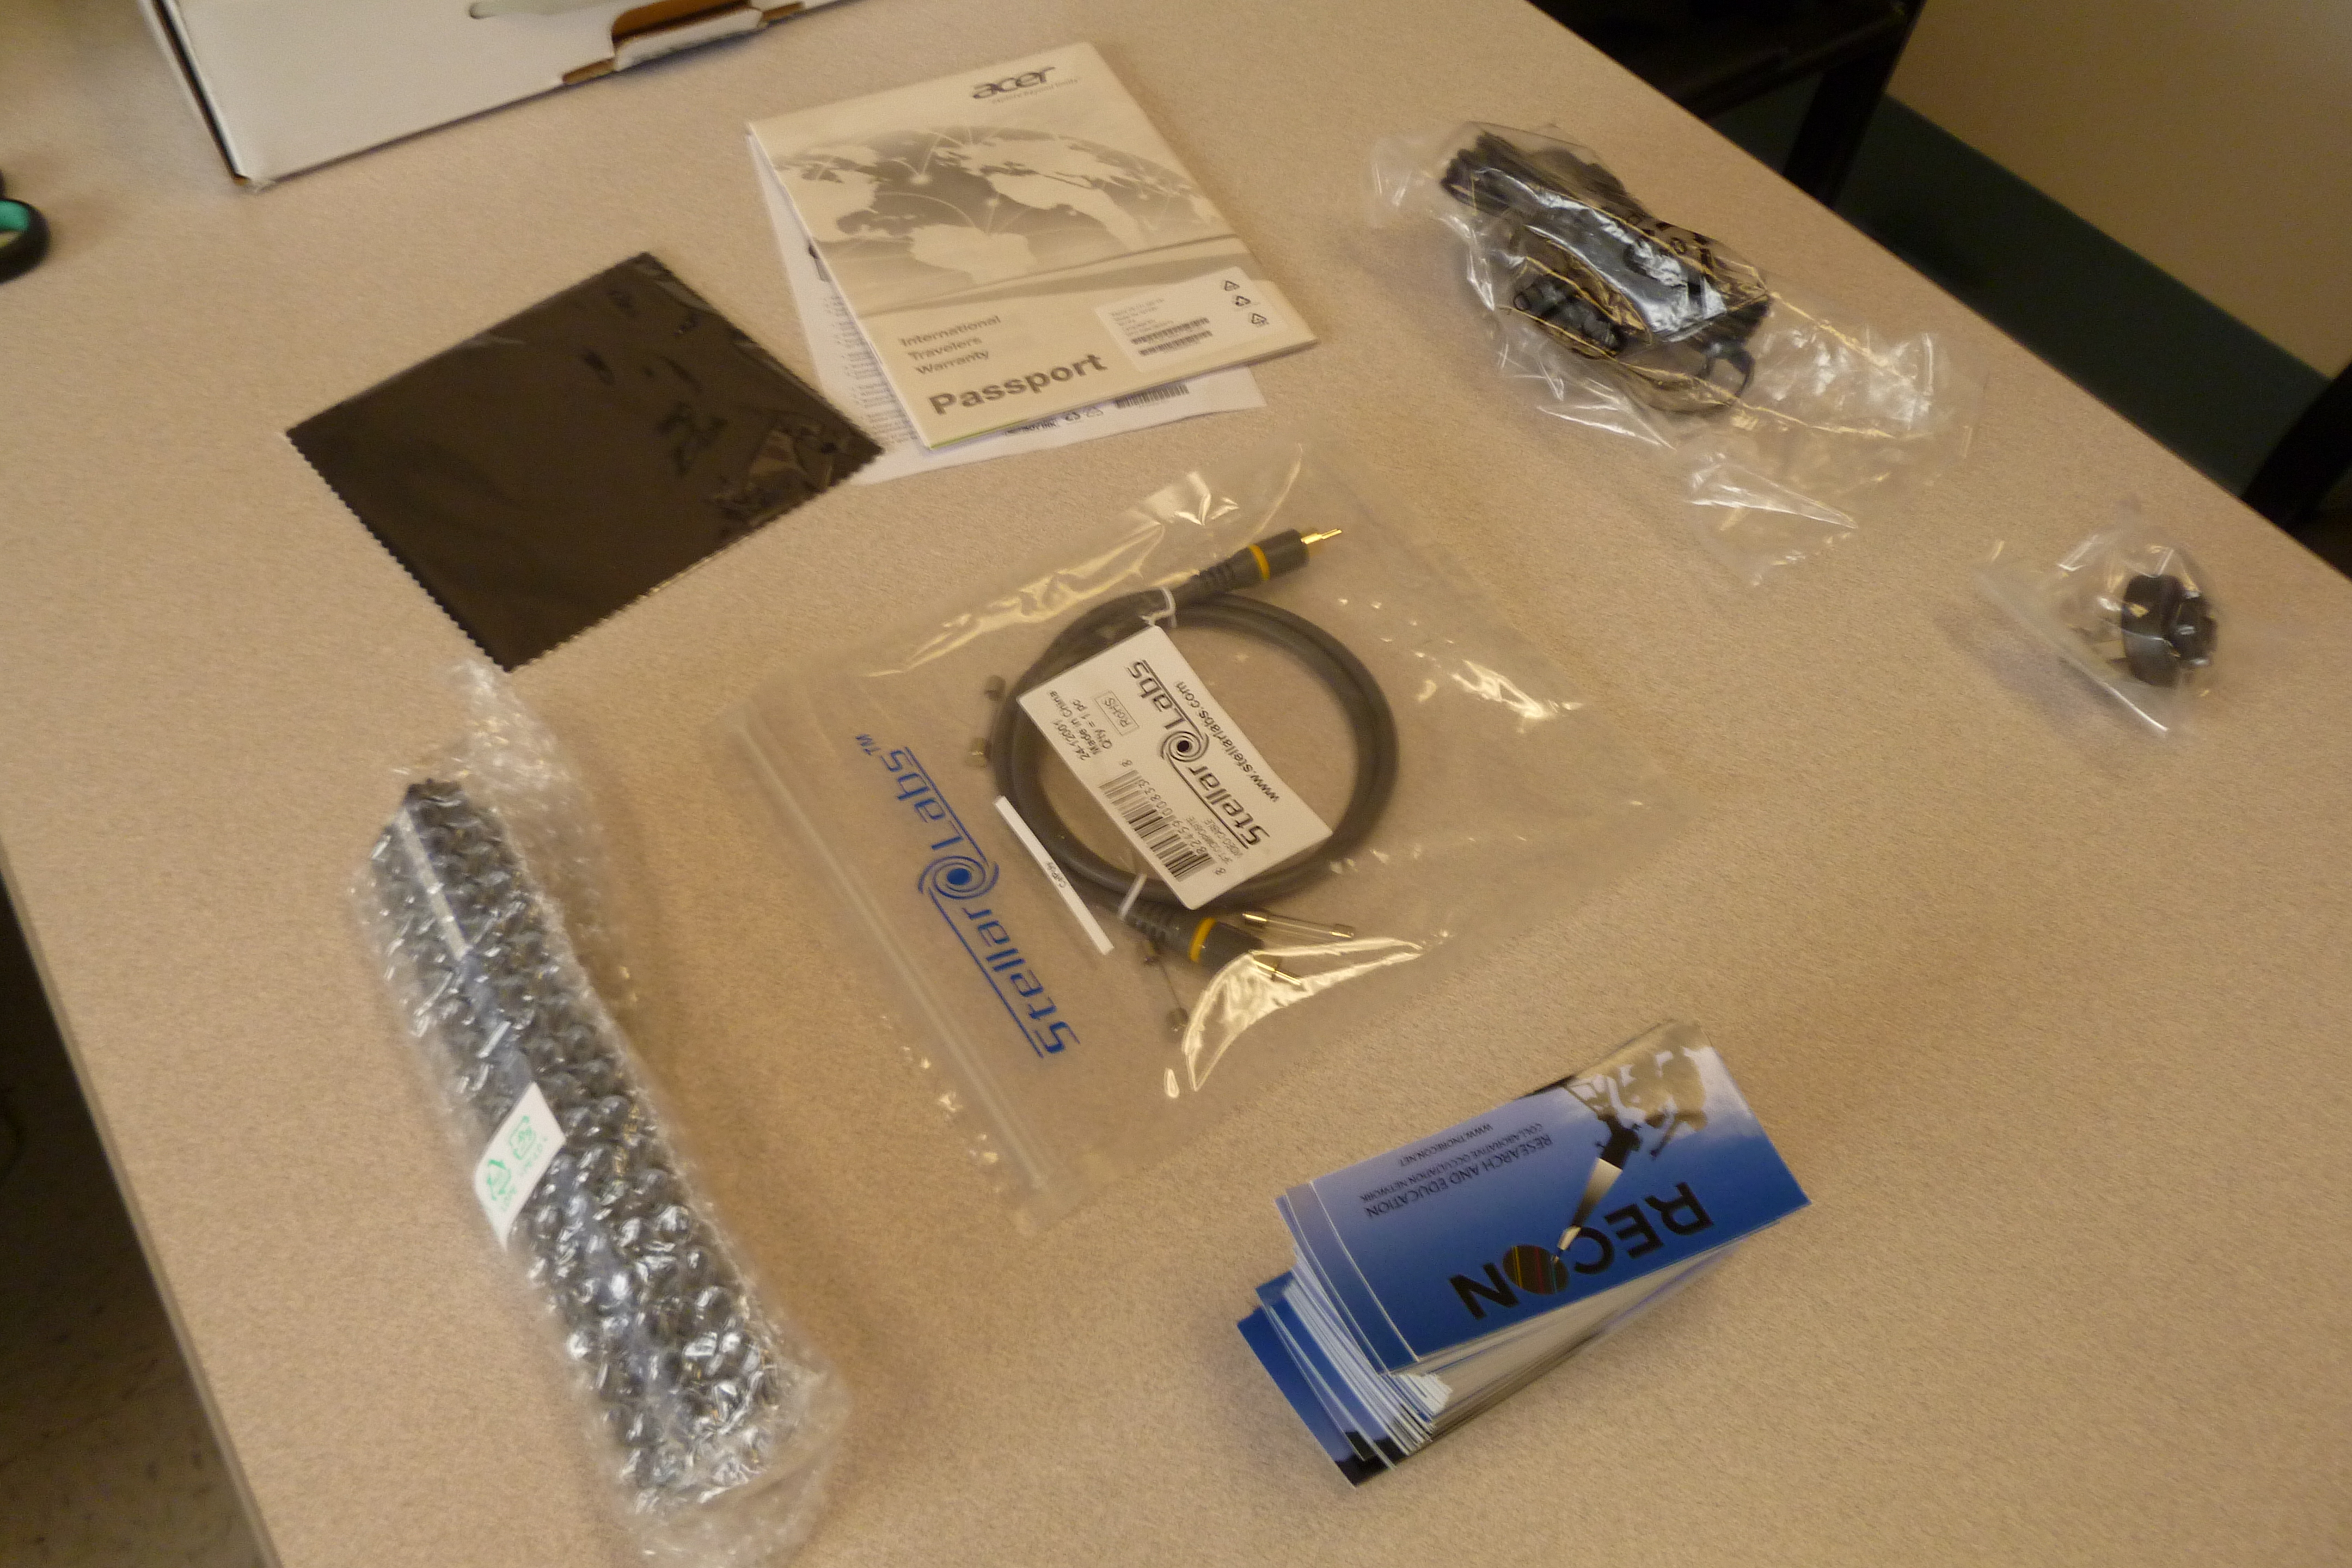
Here’s what you should find in the netbook box: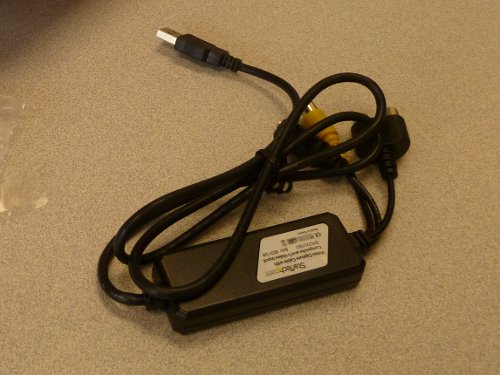
- netbook
- power cable
- plug adapter
- battery
- dust cloth
- RCA cable
- USB video adapter
- 3 spare fuses for telescope/camera power splitter
- RECON stickers
- manufacturer user guides and warranty information
Packing materials such as cardboard, foam, and bubble wrap can be discarded.
Getting Started
First, connect the plug adapter to the end of the power cable.

You can insert the plug adapter in any direction, depending on which orientation best suits your power outlet. Turn the adapter clockwise to lock it in place. To remove the adapter (to adjust the orientation), press the tab and turn the adapter counter-clockwise.
Next, insert the battery into the netbook. 
Plug the power cable into an outlet, then into the netbook. You should see a charging light come on at the front of the netbook.
Open the netbook, remove the protective foam from the keyboard and the screen, then press the power button above the upper left of the keyboard. After it boots up, you will see the following desktop:
Date and Time Settings
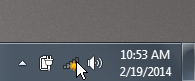
 It is important to make sure your netbook has the correct date and time settings, particularly with respect to the time zone. Move the cursor to the very bottom of the screen to bring up the taskbar. Check to see if the date and time shown in the lower right corner is correct.
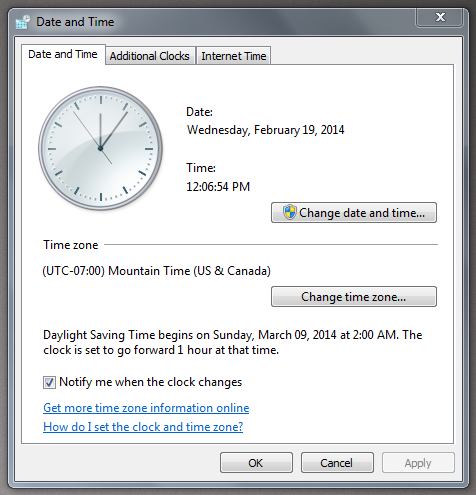
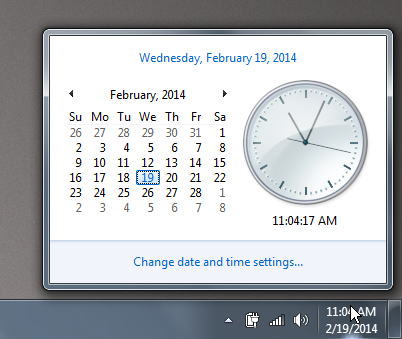 Click on the time in the taskbar, then click “Change date and time settings…”
Under “Time zone”, make sure the correct time zone is selected: “(UTC -08:00) Pacific Time (US & Canada)”. If it’s not, click the “Change time zone…” button and select the correct time zone from the drop-down menu.
 If the time shown in the taskbar is still not correct, you have two options: 1) Set the time manually by clicking the “Change date and time…” button, or 2) Connect to the internet so that the computer can sync to Microsoft’s internet clock.
For option 2, you can connect to the internet by either inserting an ethernet cable on the left side of the netbook, or clicking the wireless network icon in the taskbar to set up a WiFi connection (if one is available).
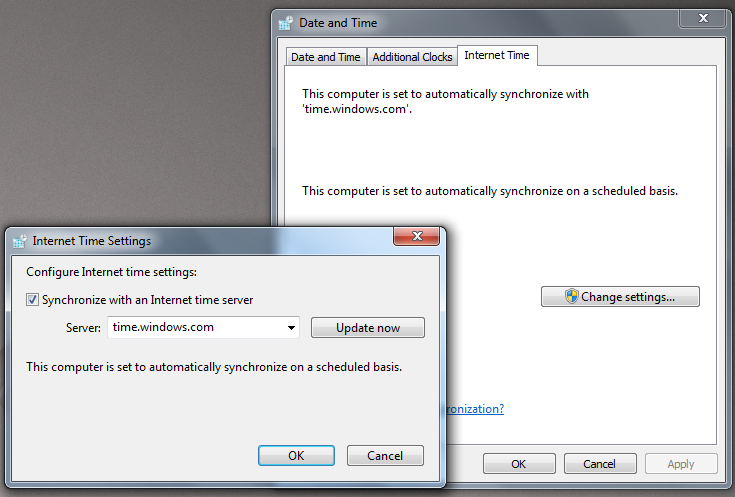
Once you’ve established a working internet connection, click the “Internet Time” tab, then click the “Change settings…” button. On the window that pops up, ensure the box next to “Synchronize with an Internet time server” is checked, then click the “Update now” button. (If you get an error message, check your internet connection and try again.) Shortly, you should see the correct time shown in the taskbar. Press “OK” on each window to close it.
Finally, restart the computer so that OccultWatcher and other software will re-calibrate to the correct time zone.
Connecting the Camera System
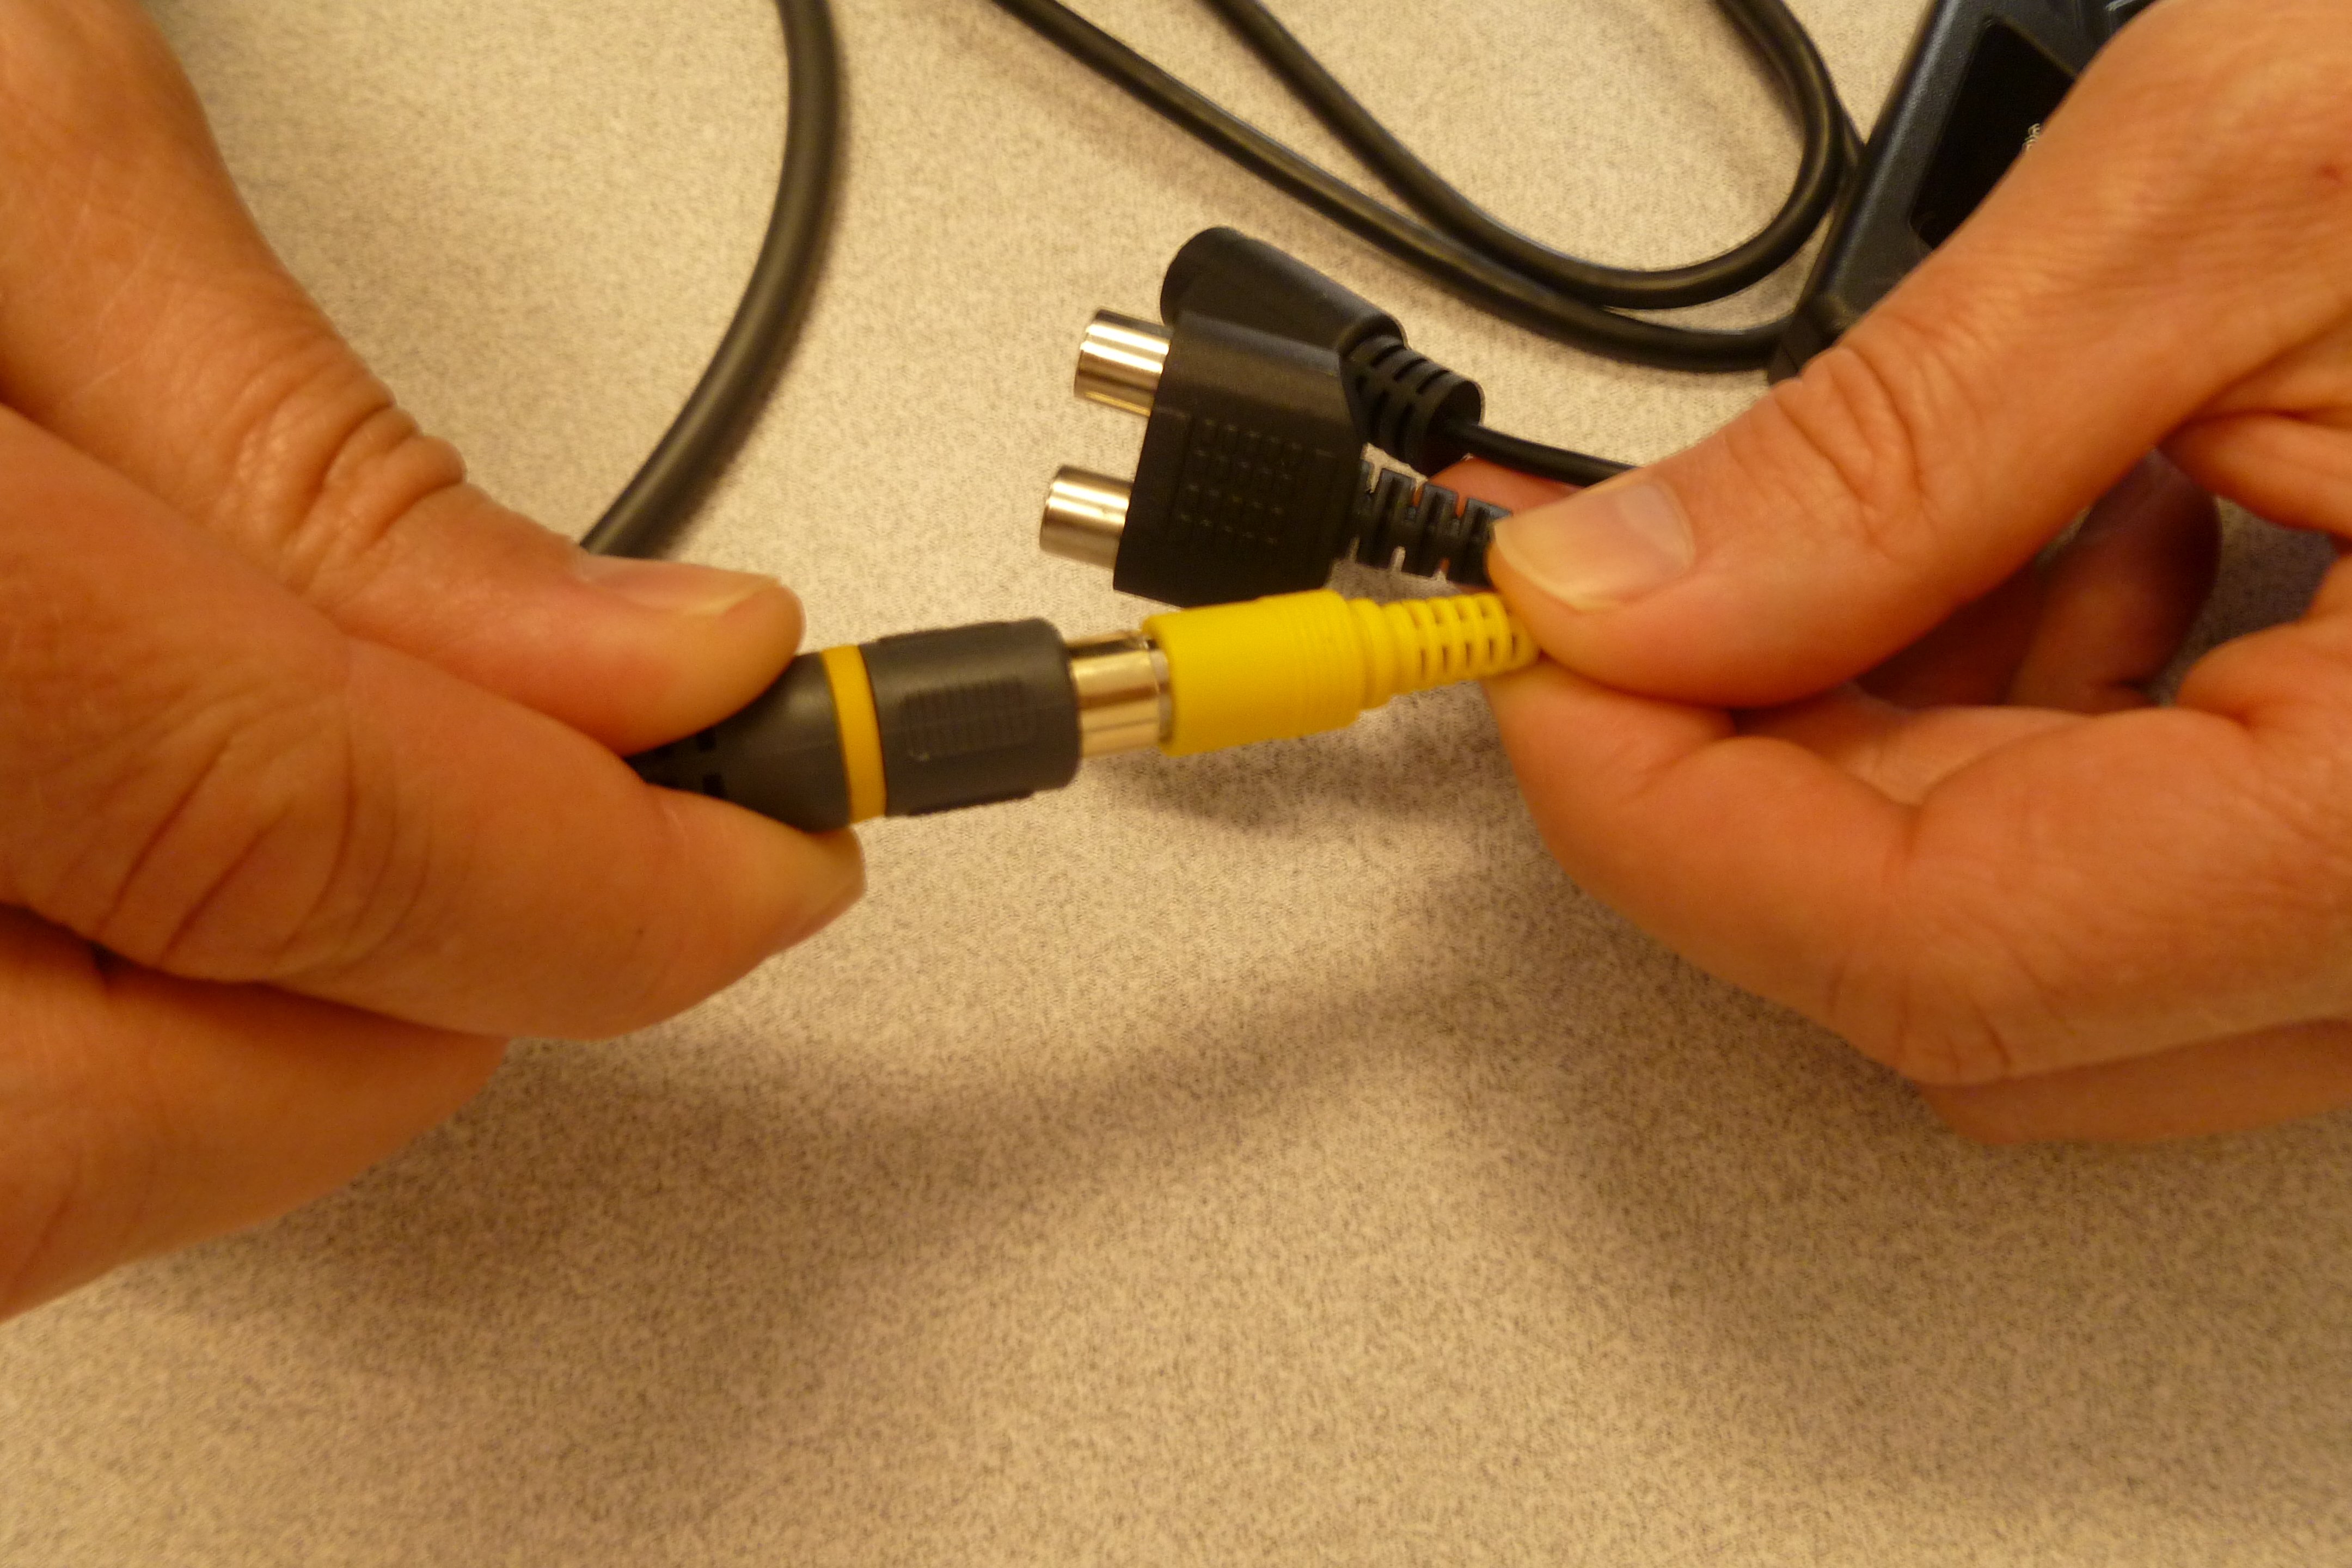
Identify the yellow RCA connector on the USB video adapter. Connect it to one end of the RCA cable.
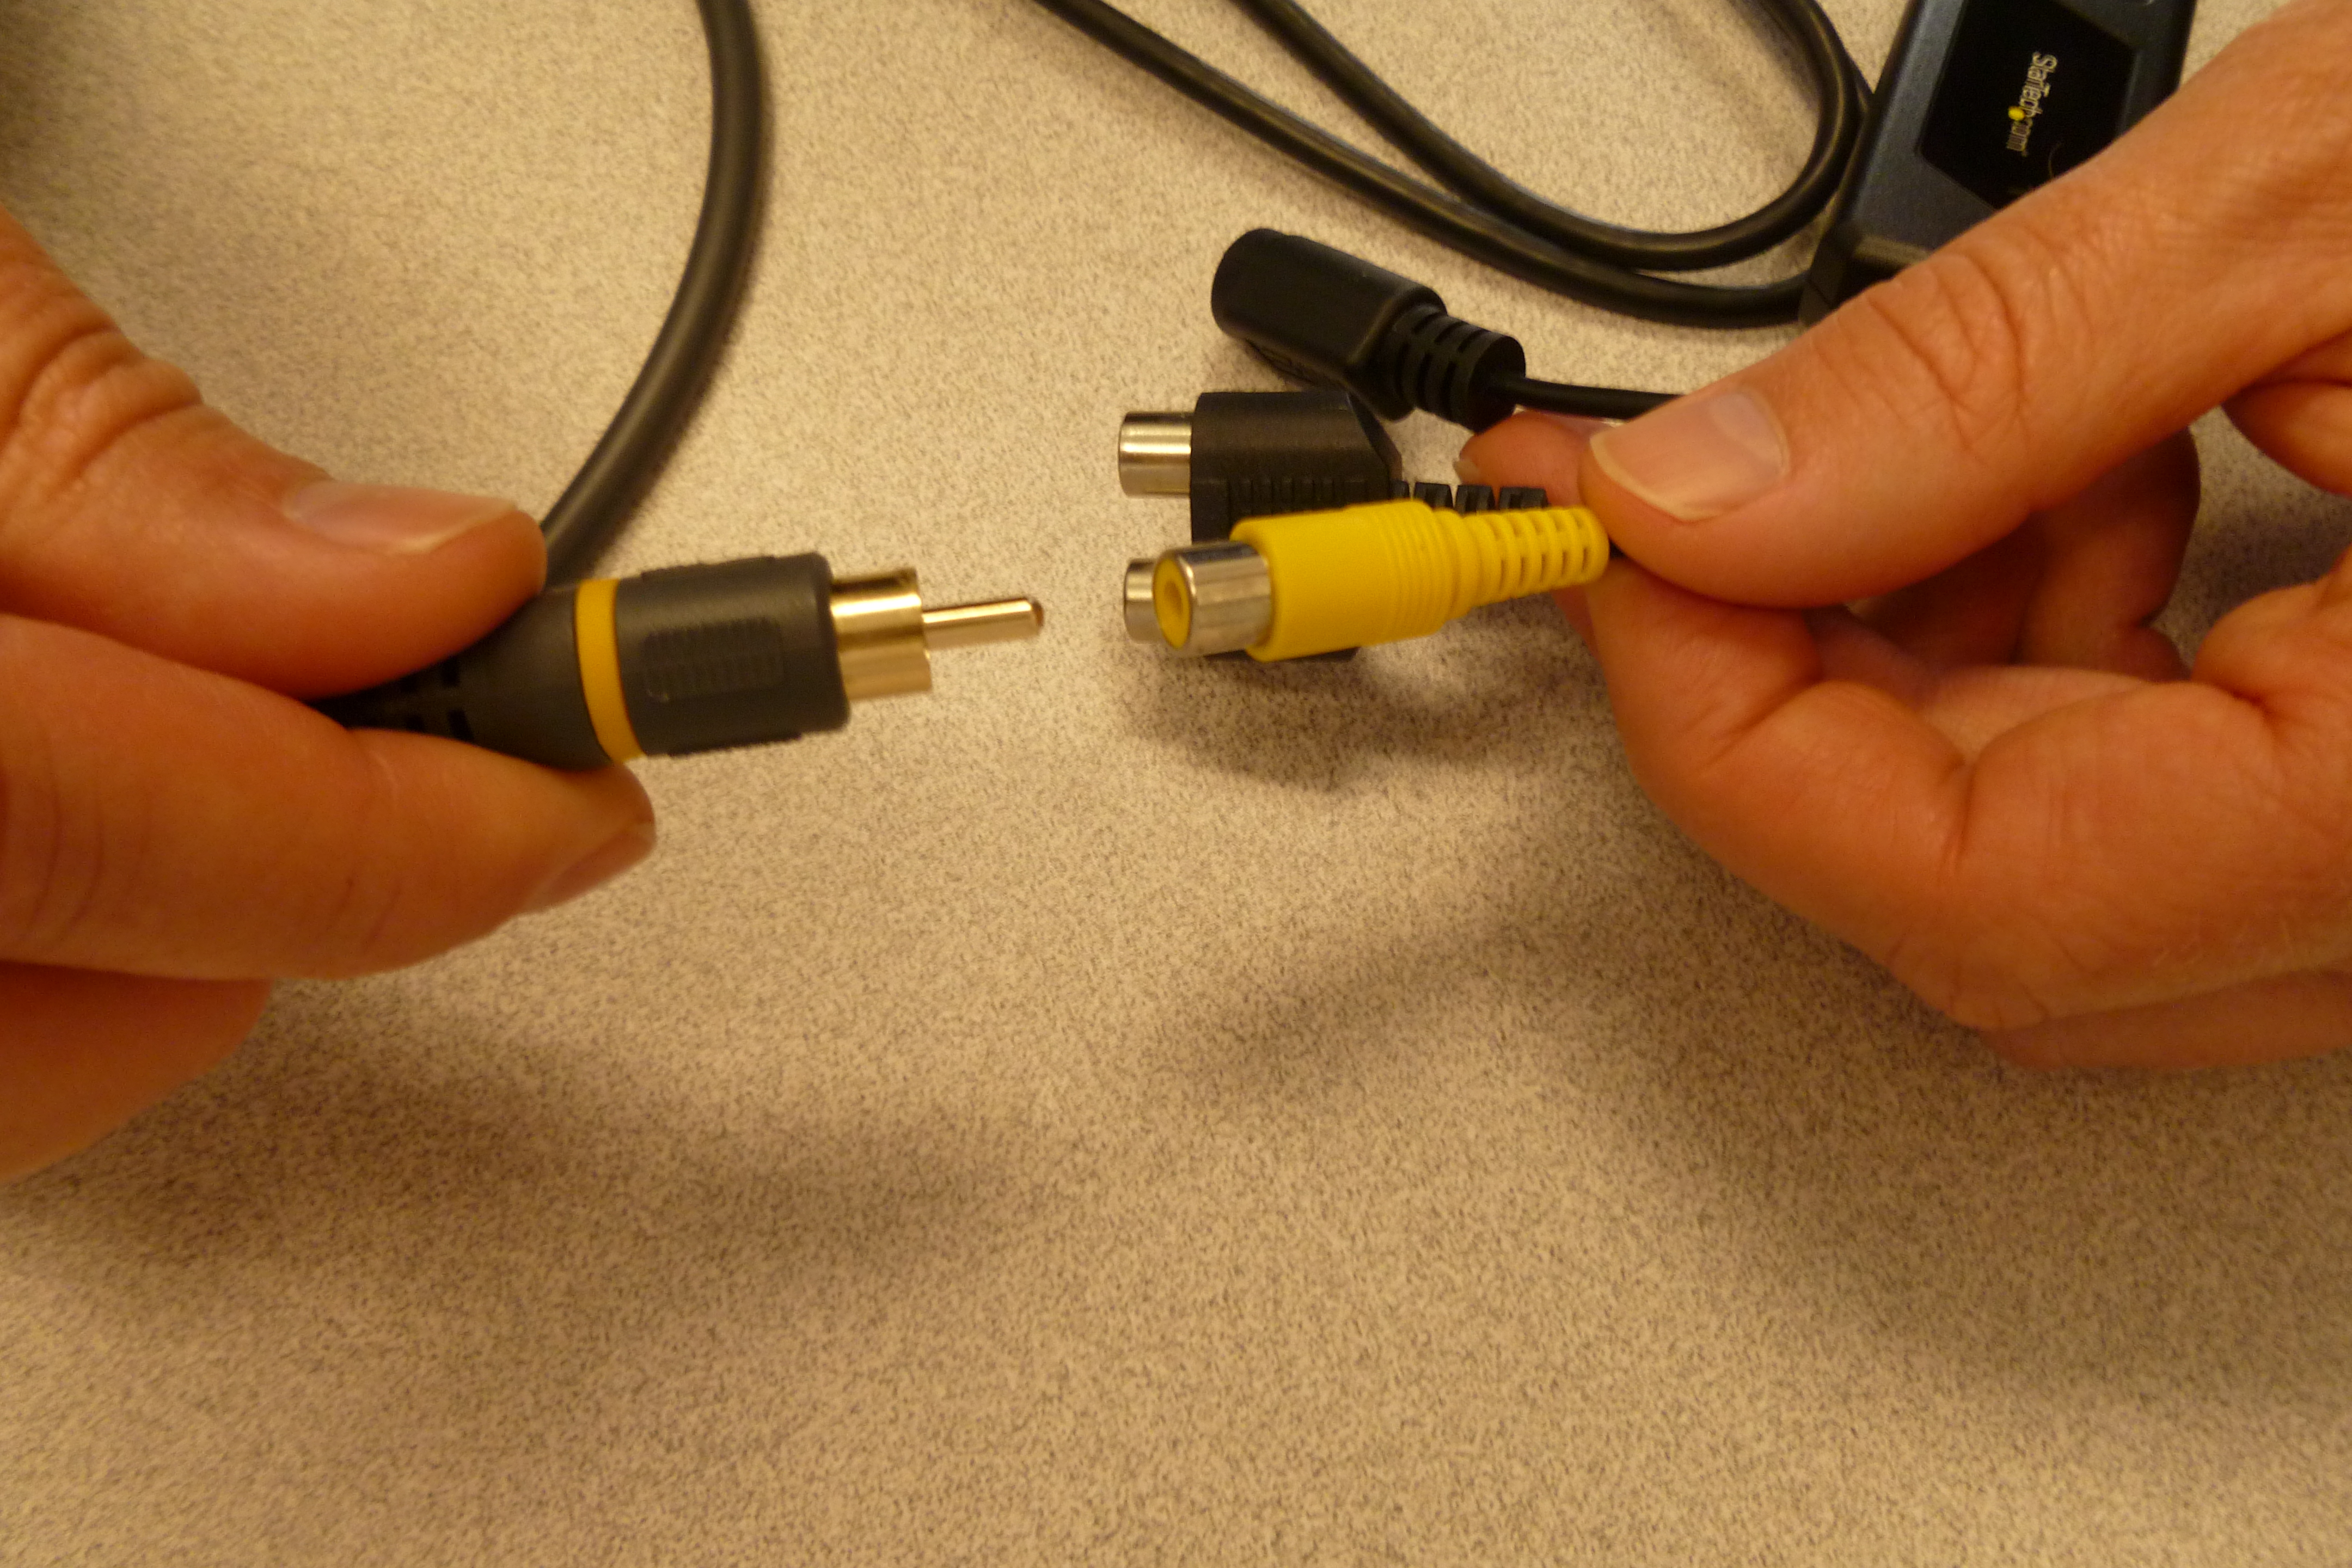
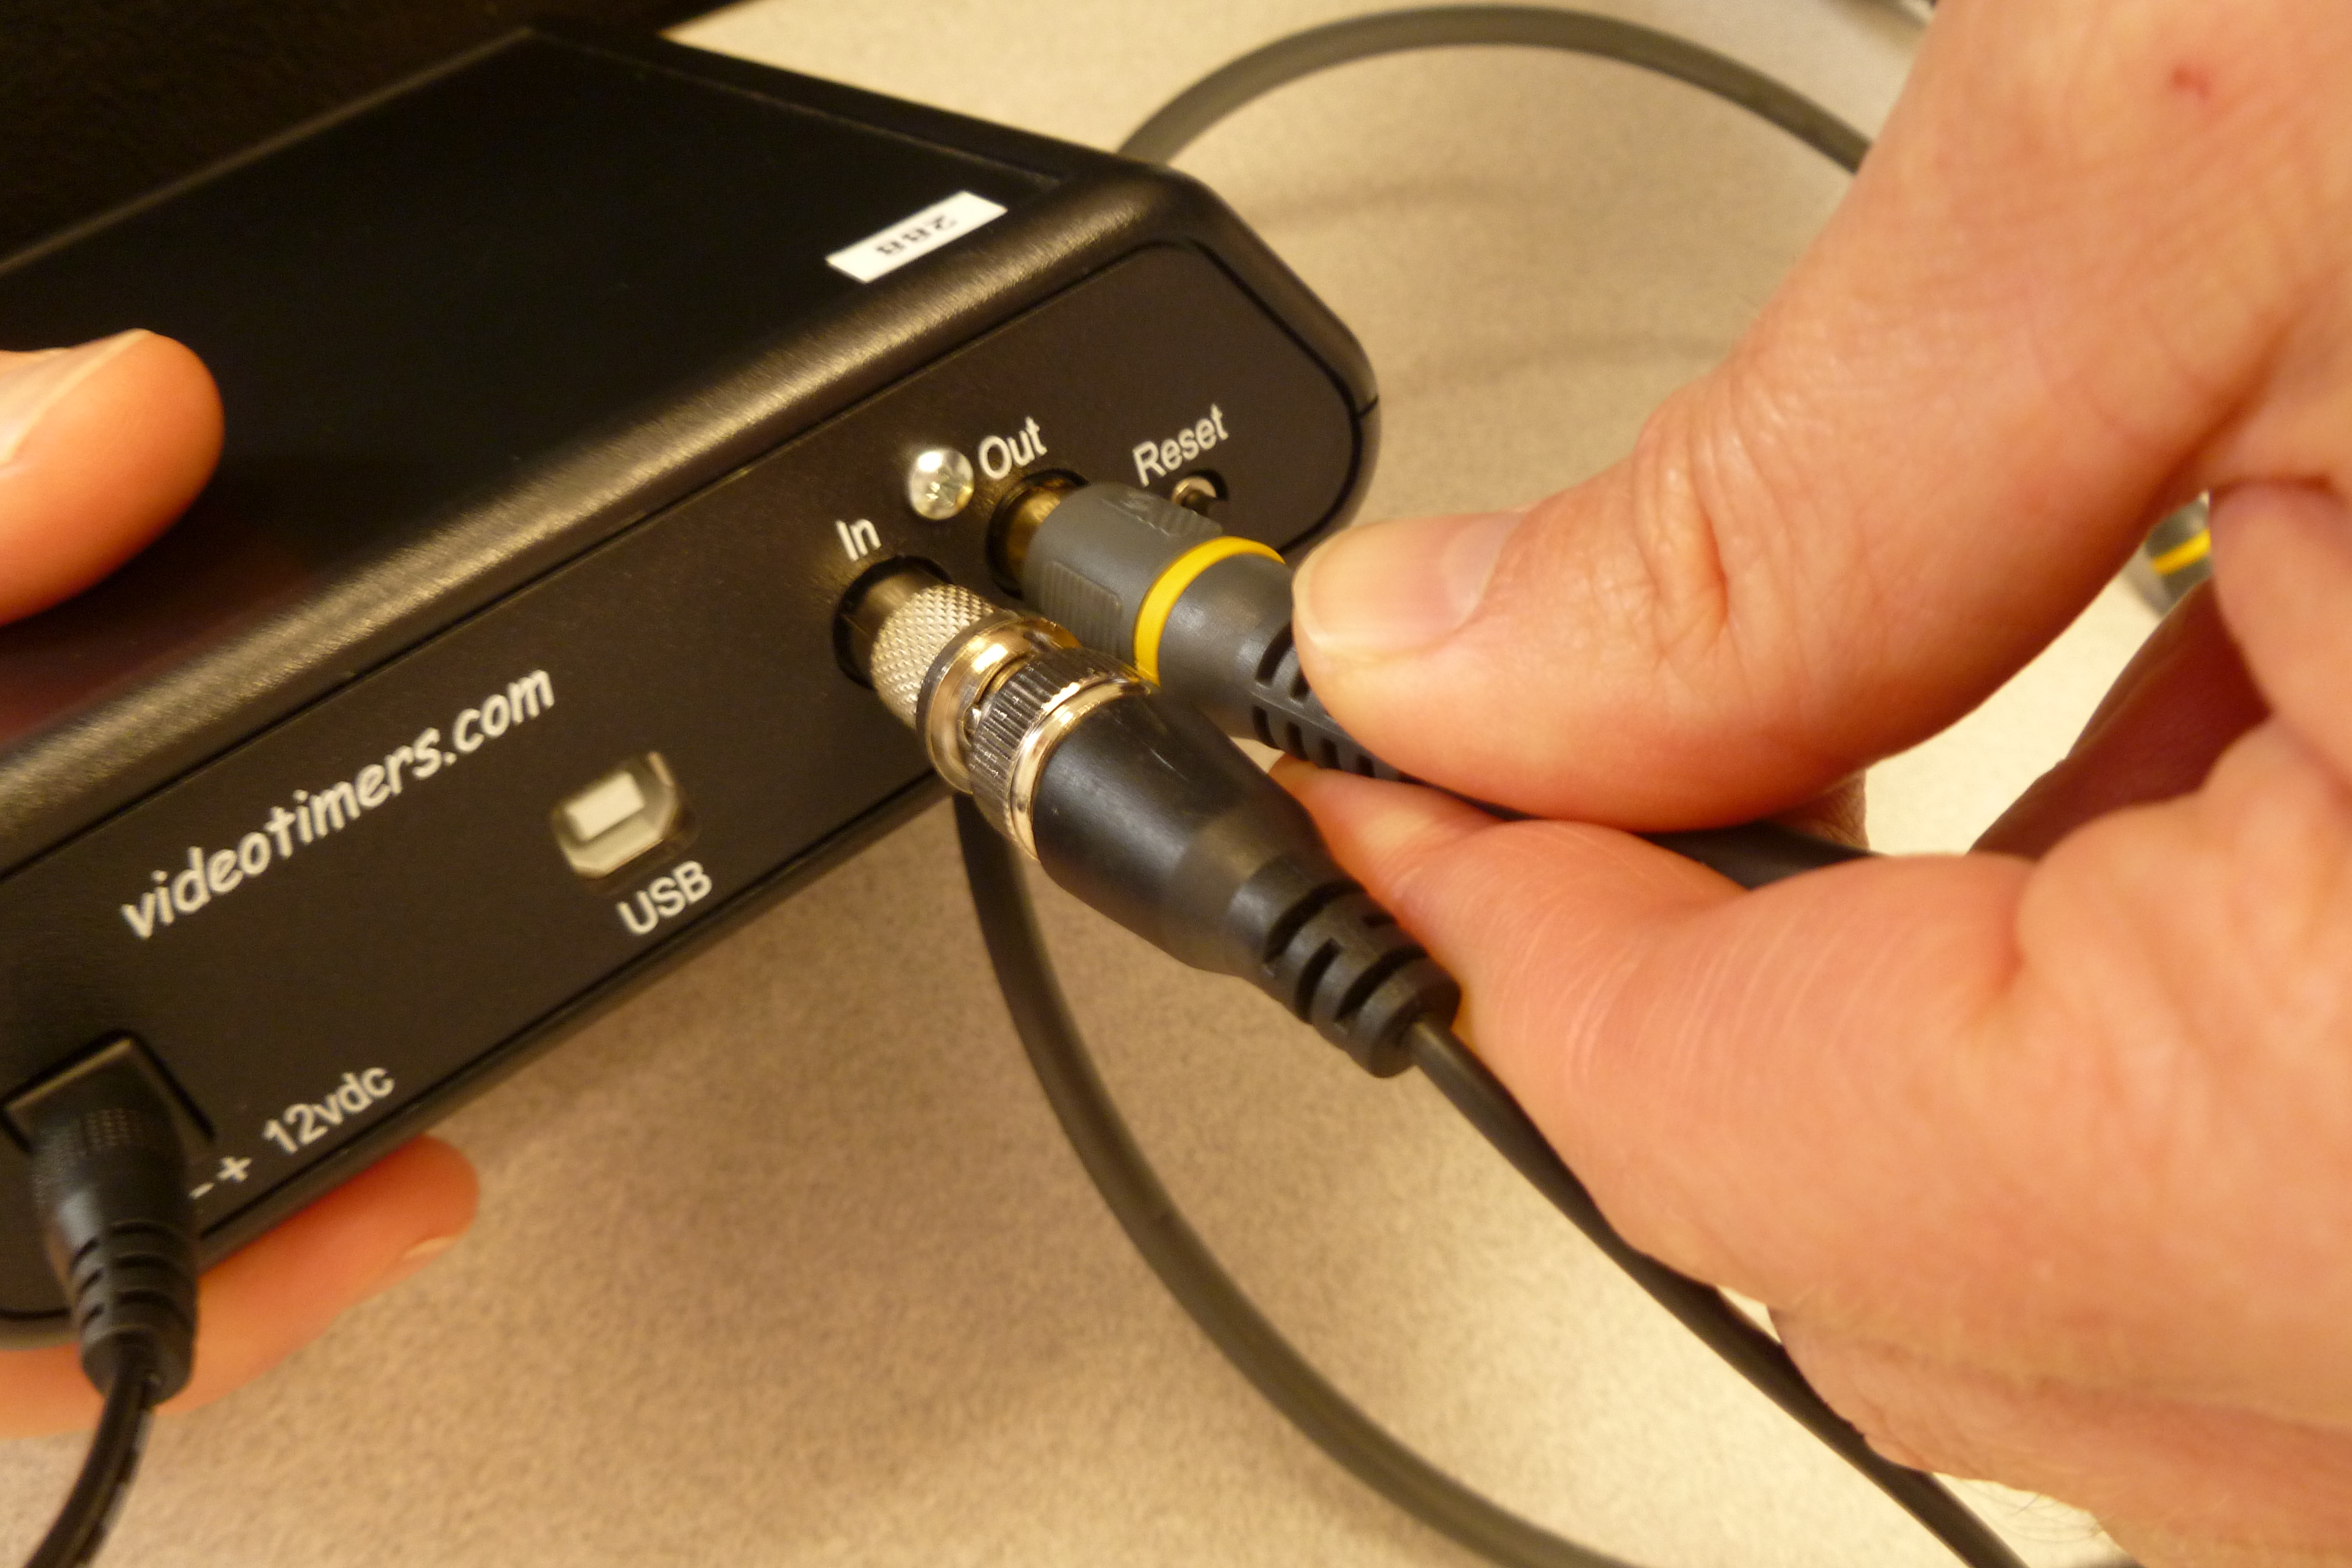
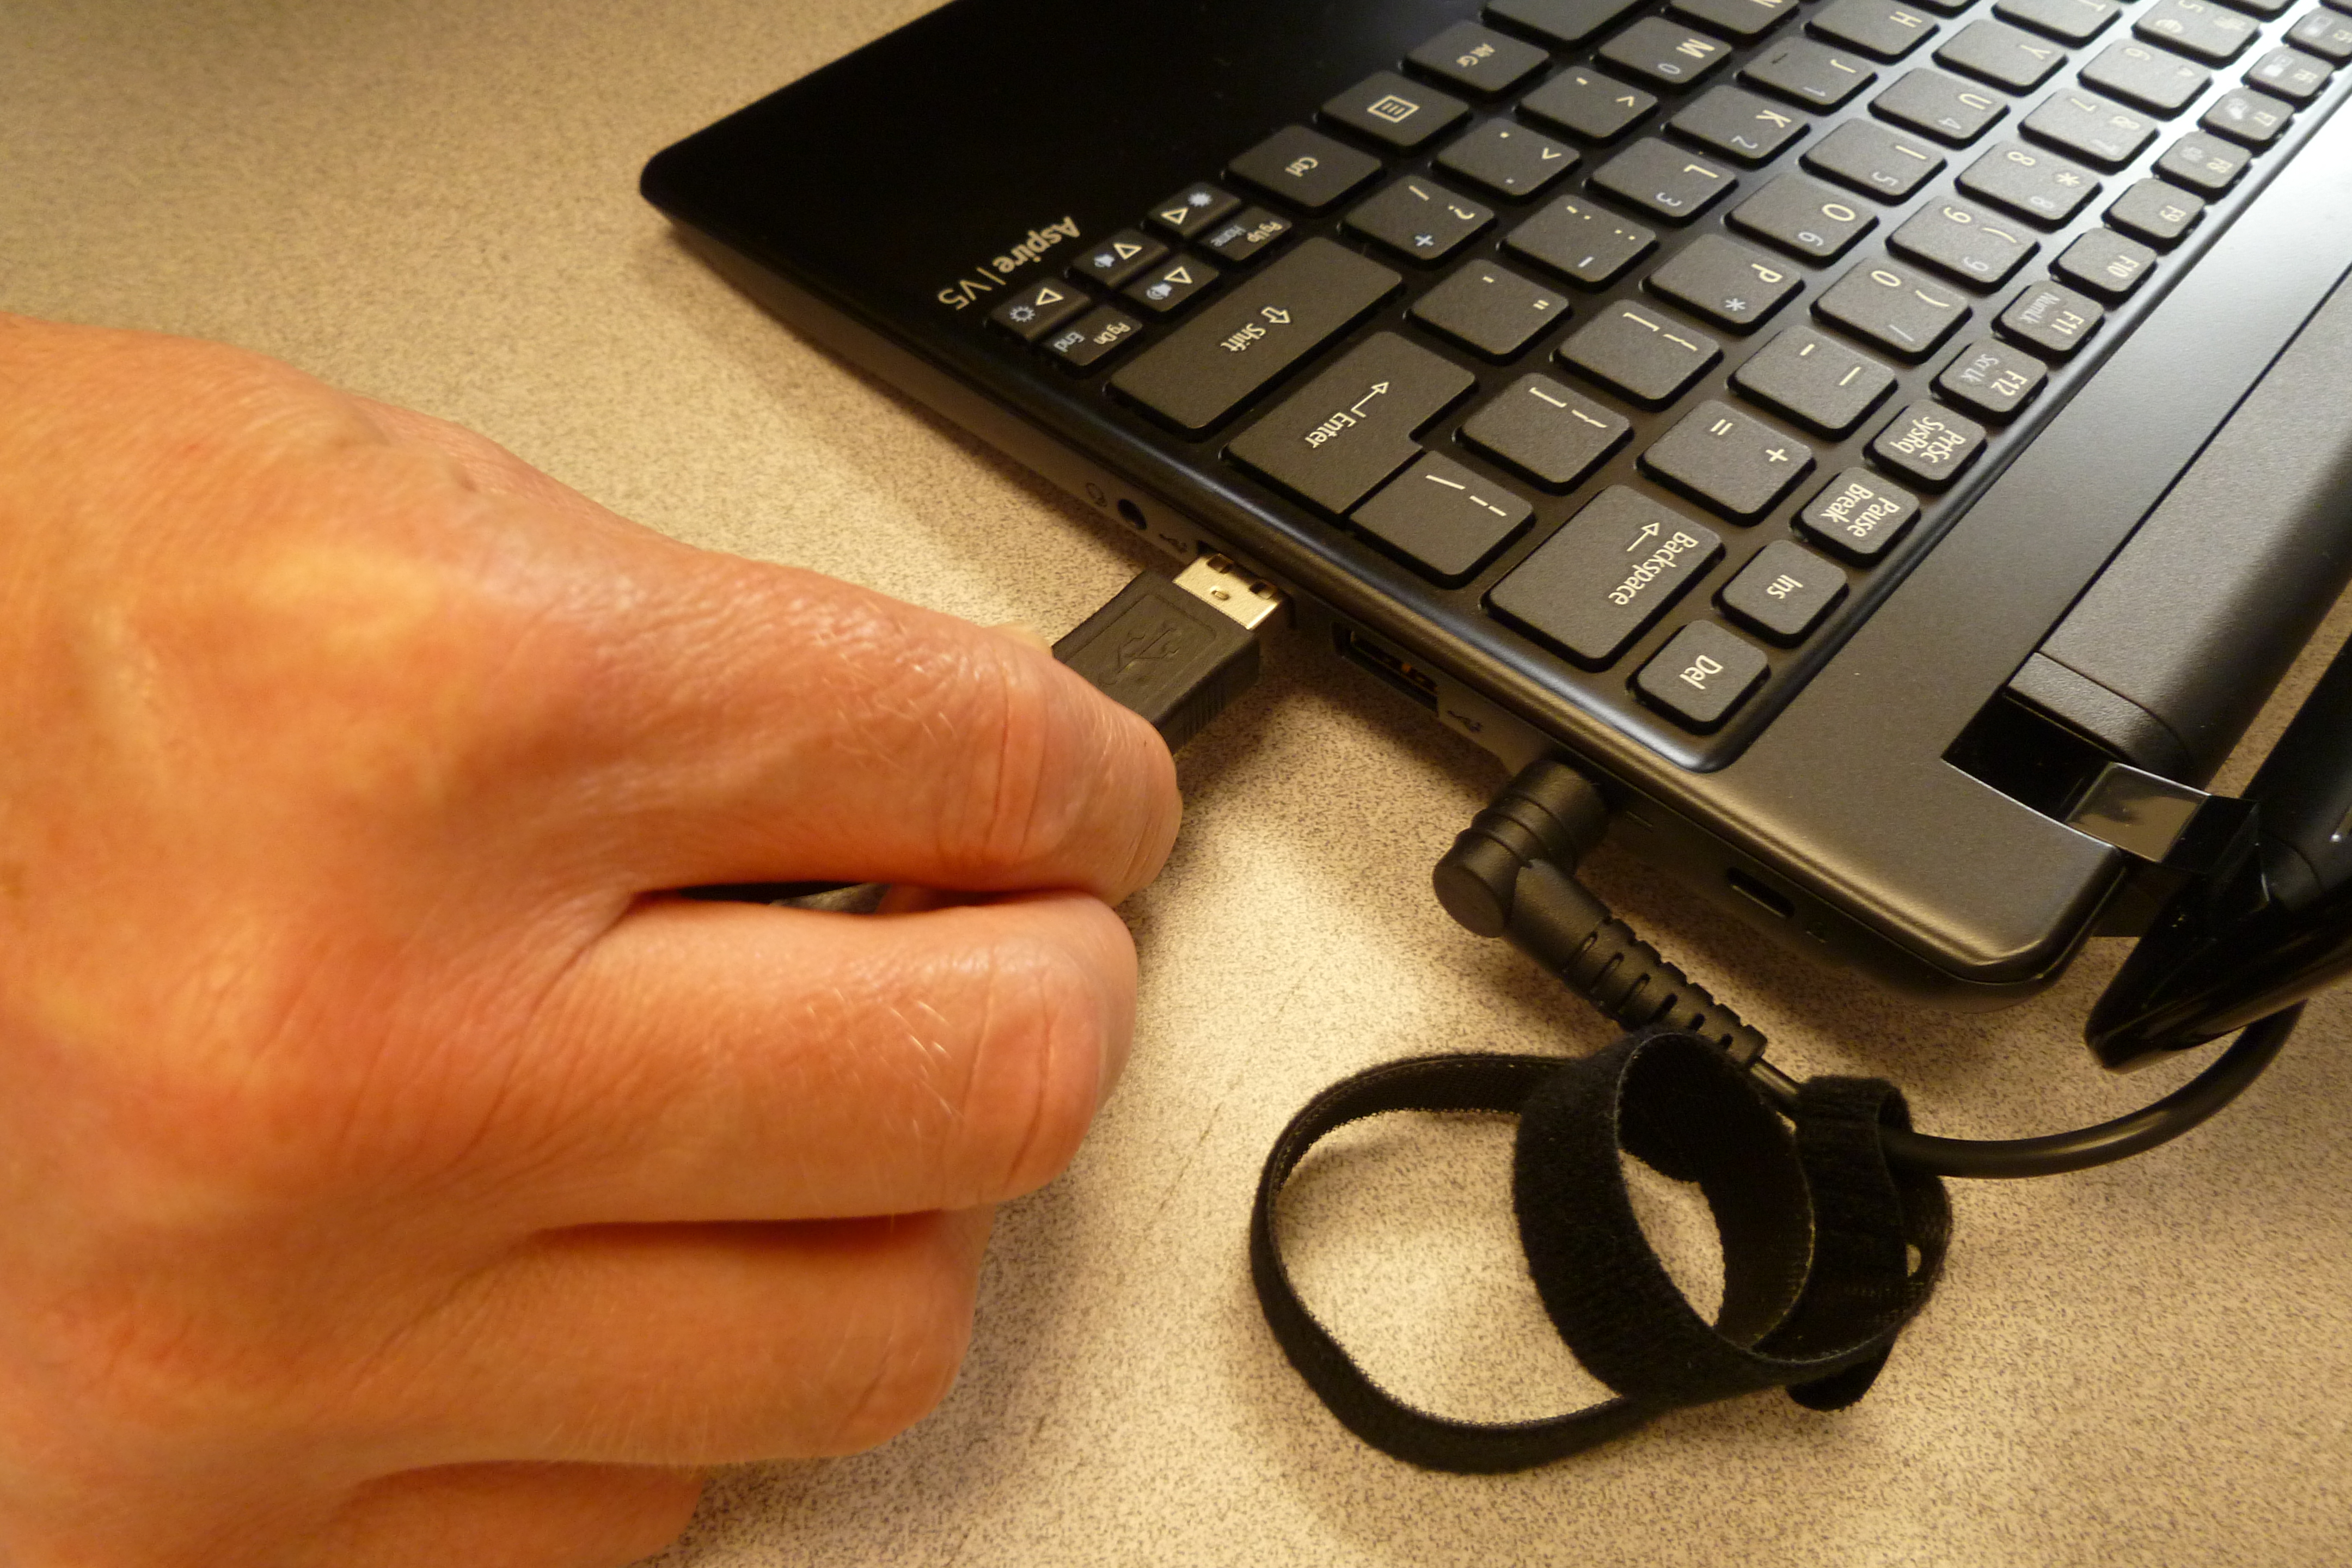
Connect the other end of the RCA cable to the output jack of the IOTA-VTI box, and connect the USB end of the adapter to the netbook. (The connections between the IOTA-VTI box and the camera are the same as before.)
Congratulations! You’re now ready to begin collecting data with VirtualDub.